Hi all!
I guess it's time to introduce myself since I'm new here. I'm a 25-year old faithful Suzuki enthusiast from south of Finland with DIY-attitude. When building bike (or whatever else) I usually end up only to see it was more expensive, time consuming and lower quality than buying a commercial product but that's way to learn new. In the beginning of this project I didn't know a thing of hayabusa and especially nothing about turbocharging. Anyway after a year learning and struggling last month I finally completed building the engine and she gave me nice 320 rwhp (344 engine hp) with a slight clutch slip. One major source of information has been this forum so I want to thank you for sharing your experience.
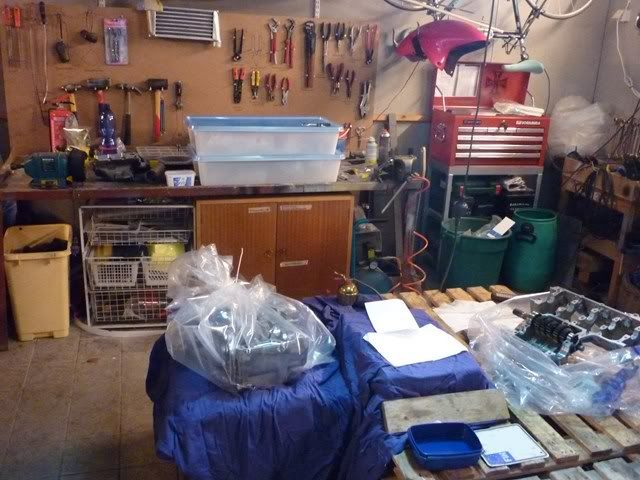
As you know these bikes will never be ready and there's always something that can be done better. Well in Finland we (not so luckily) have this 5-month period when it's snowing and you can do nothing but build your bike. In addition to making some things on the motor better I'm going to at least paint the bike (DIY of course

) during the winter and maybe do some fairing update. But first something about what's been done during last year.
When I bought busa 14 months ago my idea first (and probably idea of many other turbo enthusiasts) was that it's going to be a real low-budget ride with just a basic kit. Fast, affordable and easy. However after 12 months of building what I have is a fully built motor with W/A-intercooler and secondaries (DIY), pistons, rods, tranny race cut, and a lot of things I never knew their existence. Now I've ridden the beast for a couple of months and it seems to hold together. And the money issue... Well money she likes a lot, like a proper woman do

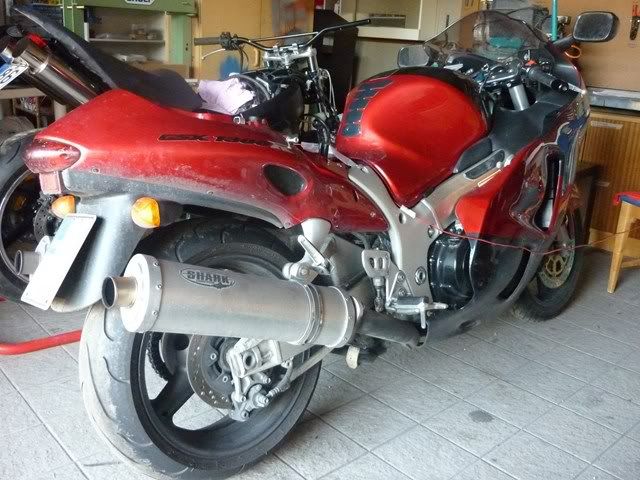
I'll put some pictures soon but first there is one of the starting point when I bought this bike a year ago: Big and ugly with lots of unnecessary accessories!
Engine prep:
First I needed to find out what's inside the engine.. Opening the engine and reassembling it took some time and I found out handy to put the whole engine in a large plastic bag and zip tie it while not at garage. That way most of dirt and dust was easy to keep away
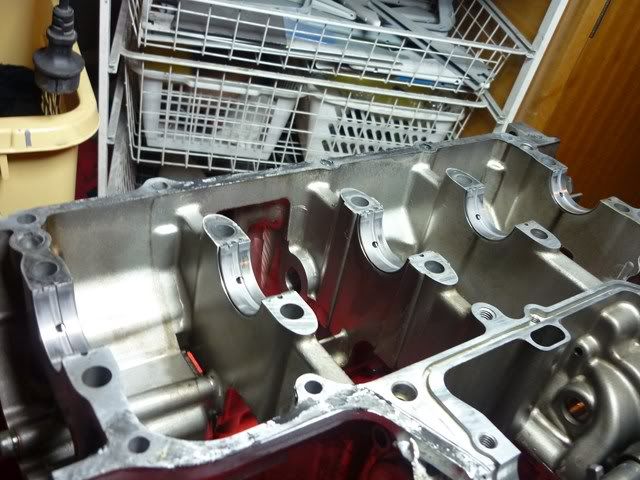
Every critical part in engine was checked and measured to ensure correct operation. Though the bike was old (1999) it was driven only 29 000 km and still in good shape. There was some minor wear at crank bearings and at one of the transmission fork but otherwise everything was ok. Crankshaft bearings was replaced and selected by haynes manual (stock clearances).
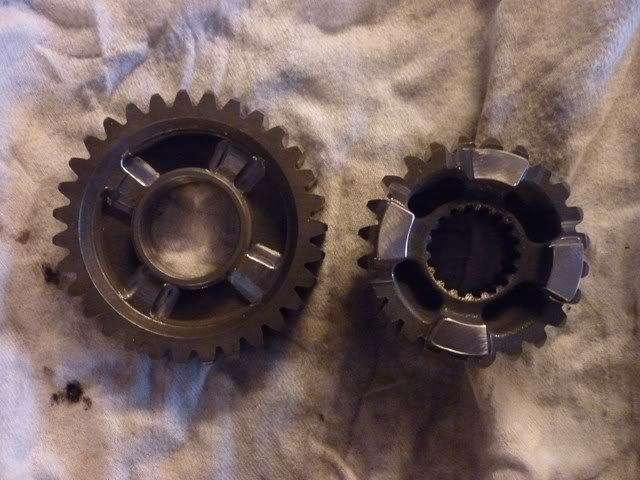
I had heard that while drag racing the second gear will wear fast and eventually slip off so I wanted undercut to transmission at the same time. Machining was made by a finnish drag racer and tuner Sami V. who knows hayabusa well.
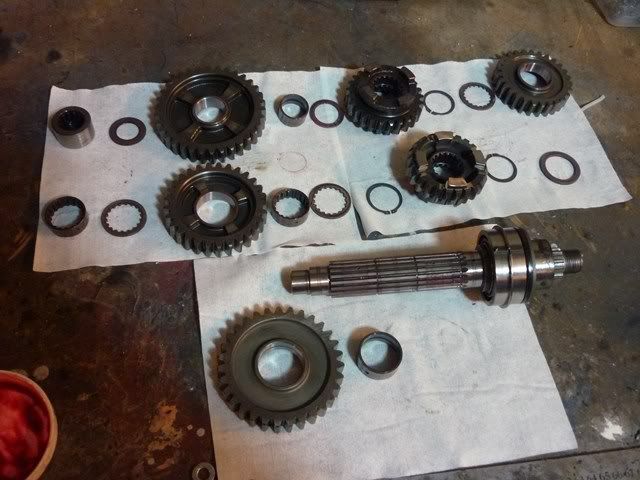
Assembling the shaft was surprisingly busy as there were many similar parts and first I didn't know there's some oil holes to align and Haynes manual didn't say anything about that. It was maybe third try when I was sure it's assembled the right way. But hey not any problems yet

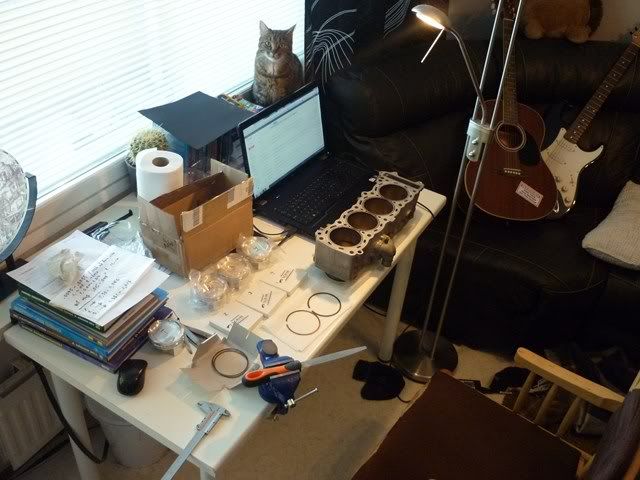
Sometimes my workshop was extended to the living room as in the picture where my cat is thinking are you serious?! Operation piston ring grinding
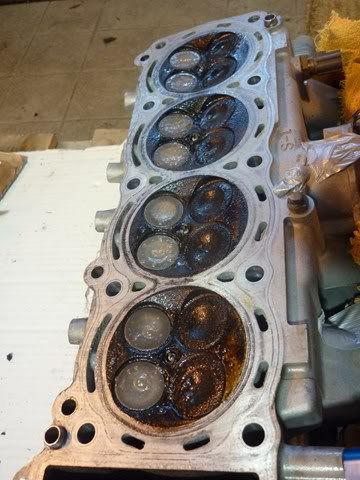
This is cyl head before cleaning.. carbonized as hell but there's already some paint stripper affecting..
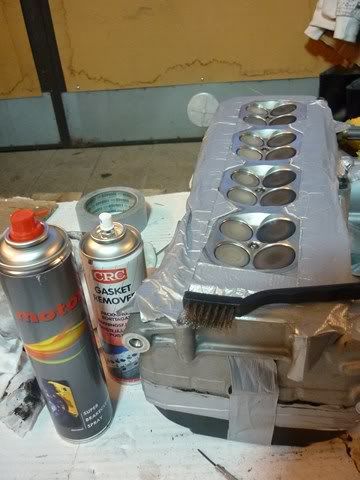
Cleaned by paint stripper and brake cleaner + steel brush
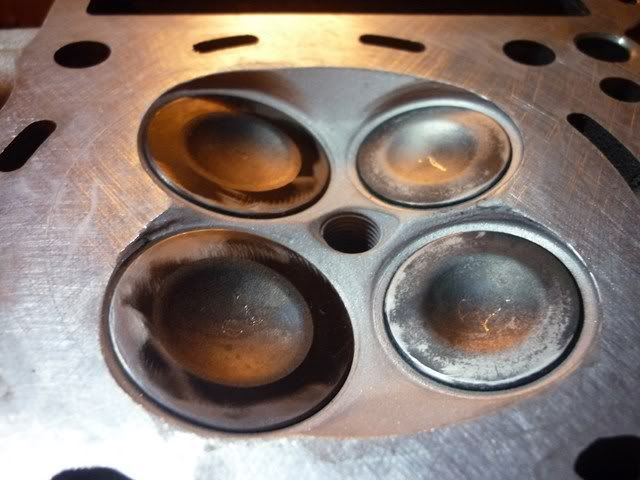
After cleaning the head combustion chamber's and port's sharp edges was rounded and glass ball blasted to ensure cleanness and avoid detonation (comb. chamber)

Also new pistons (JE 8,5:1 turbo) was prepped by sanding sharp corners. According to JE pistons doesn't need any prep but I did some anyway, probably it won't make any harm and hopefully prevents detonation better

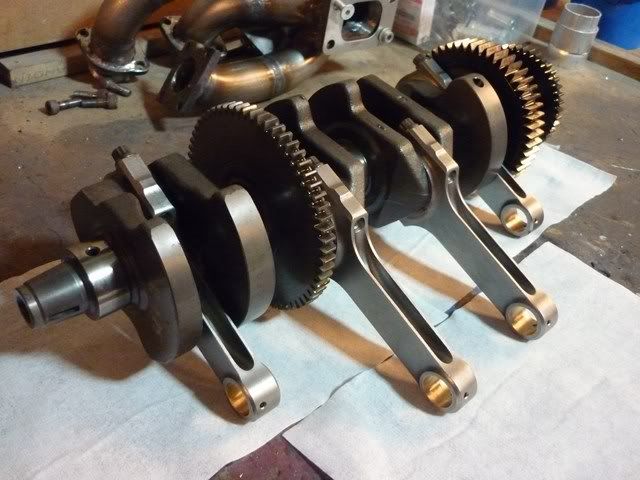
I also chose to replace con rods due to higher weight of turbo pistons and to get some margin if more power is needed in the future. The original target was 300rwhp and for that I guess stock con rods would have been just fine.
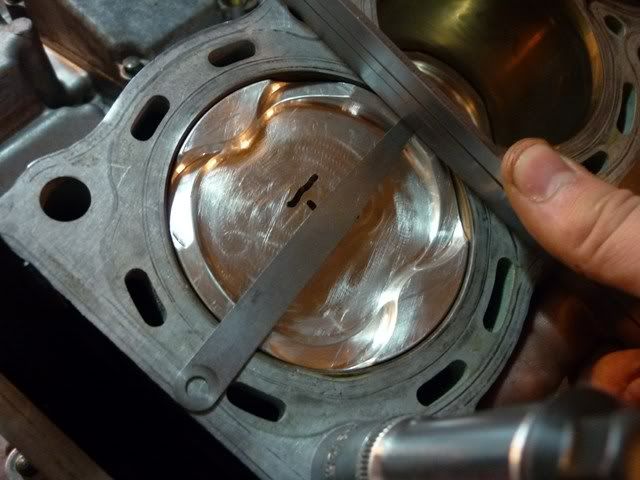
Checking the deck height was pain in the ass cause the I wasn't sure about the right method.. Actually I tried to do this by several different methods but everytime I got different result. I ended up using 2mm aluminum plate under the barrel and two thin shims. That way I'm pretty confident to have enough space there and not lose valves
Here we are degreeing cams which was another interesting thing to do for the first time.. There are some different ways (and degree wheels) to do it and some of them are easier than other. Anyway after a couple of days trying I hope my cam lobe centers are now at 106 / 106. If you are nice maybe I post a better picture of my GF too
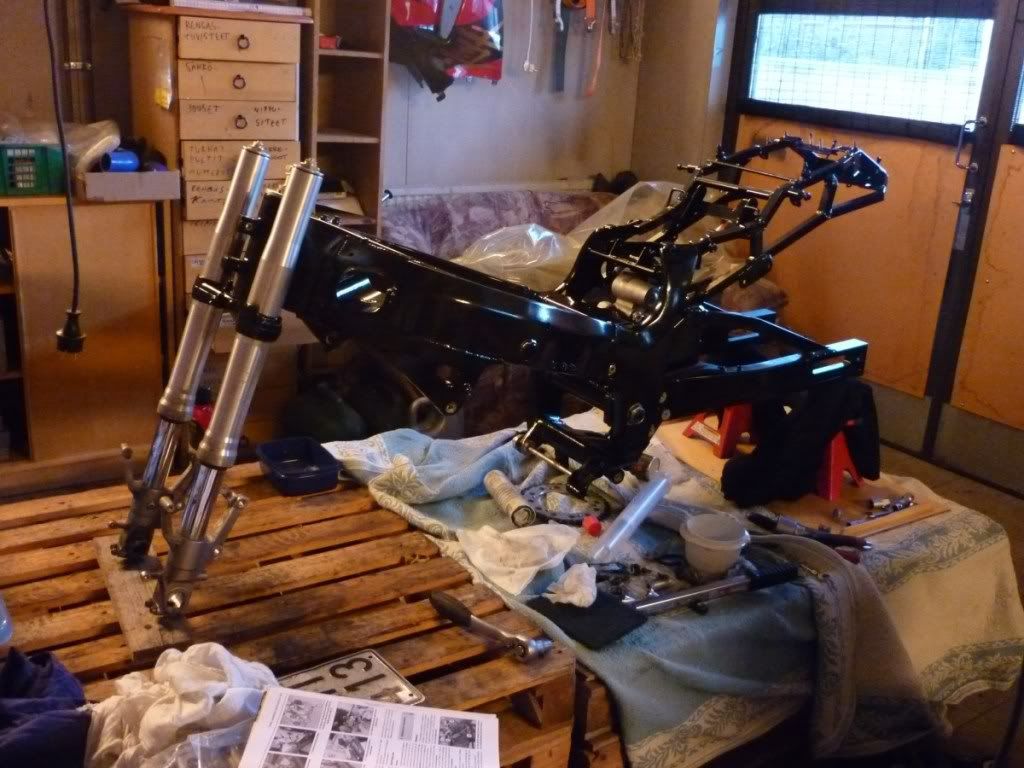
Just to keep me busy I also decided to extend the swingarm and powder coat all black. At this picture can also be seen my home made rear frame where I was going to mount radiator to get more room for the turbo but later decided to use original rear frame anyway.
More pictures coming soon...